Your Ultimate Guide To Drawing A Christmas Tree: From Simple Sketches To Digital Masterpieces
The Basics: Traditional Christmas Tree Drawing
Let's start with the fundamentals. Drawing a Christmas tree traditionally, with pencil and paper, is a great way to understand its basic structure before moving on to more complex methods.
Step-by-Step Guide for Beginners
A Christmas tree, at its core, is a series of layered triangles on a trunk. Here’s how to break it down:
- The Foundation: Begin by drawing a simple vertical line down the center of your paper. This will be the trunk and the central axis of your tree.
- The Trunk: At the bottom of your vertical line, draw a small rectangle or a slightly tapered cylinder for the tree trunk.
- Layered Triangles: Above the trunk, start drawing a wide, flat triangle. This will be the bottom layer of your tree. Above that, draw a slightly smaller triangle, overlapping the first one. Continue this pattern, making each subsequent triangle smaller as you move upwards, creating a classic conical shape. Aim for three to five layers for a well-proportioned tree.
- Connecting the Layers: Instead of straight lines for the triangles, make the sides slightly wavy or jagged to suggest the natural flow of branches. Connect the tips of the triangles with gentle curves.
- Refining the Shape: Erase any initial guide lines you no longer need. Smooth out the overall silhouette, making it look more organic and less like a stack of geometric shapes.
Adding Details: Branches, Ornaments, and Star
Once you have the basic shape, it's time to bring your tree to life with festive details:
- Branches and Needles: Lightly sketch in some downward-sloping lines within each layer to suggest branches. You can add tiny "V" shapes or short, feathery strokes along the edges of your tree to imply needles, giving it a fuller appearance.
- Ornaments: Draw circles, stars, bells, or any other shapes you like for ornaments. Vary their sizes and distribute them evenly across the tree. Don't forget the strings holding them!
- Garlands and Tinsel: Add wavy lines draped across the tree to represent garlands or tinsel.
- The Star: Crown your tree with a shining star or an angel at the very top. Make it proportionate to your tree's size.
- Presents and Base: At the bottom, you can draw a tree skirt or a few wrapped presents to complete the scene.
Coloring Your Tree
Choose your medium – colored pencils, crayons, markers, or paints. A vibrant green for the tree, brown for the trunk, and a variety of bright colors for the ornaments will make your drawing pop. Consider adding subtle shading to give your tree depth and make it look three-dimensional.
Elevating Your Art: Drawing Christmas Trees Digitally
In today's digital age, drawing isn't limited to paper. Digital art offers incredible flexibility, endless tools, and the ability to easily share your creations. Drawing a Christmas tree digitally opens up a world of possibilities.
Why Go Digital?
Digital drawing comes with a host of advantages:
- Undo Button: Mistakes are easily corrected, encouraging experimentation.
- Layers: Work on different elements (tree, ornaments, background) independently, making editing a breeze.
- Unlimited Colors and Brushes: Access to a vast palette and a variety of brush textures for different effects.
- Easy Sharing: Share your artwork instantly with friends and family online.
- No Mess: All the fun of drawing without the cleanup!
Discovering a Powerful Free Online Drawing Application
For those looking to dive into digital art without investing in expensive software, there are fantastic resources available. Imagine having a tool that is a "Free online drawing application for all ages." This kind of platform makes digital art accessible and enjoyable for everyone, from young children to seasoned artists.
Such an application is incredibly versatile. You can "Easily draw, edit photos, or design your next business card," making it much more than just a simple drawing tool. It empowers you to "Craft images for social media posts, digital ads, paper, or even apparel," showcasing its broad utility for creative projects beyond just drawing a tree. The convenience extends to quick edits too; you can "Make a quick photo edit with the drag and drop feature."
When it comes to sharing your festive creations, this kind of application truly shines. You can "Create digital artwork to share online and export to popular image formats jpeg, png, svg, and pdf." This means your beautifully drawn Christmas tree can easily become a digital greeting card, a social media post, or even a printable decoration for your home.
For more advanced users or those looking to speed up their workflow, these applications often include clever shortcuts. For instance, you might be able to "Draw the letter “s” to take a shortcut to the style chooser," allowing for rapid changes to your brush or line styles. Furthermore, some tools offer intuitive gesture controls, such as "While holding the button, tap the screen with different finger combinations to access tool presets that have been setup in the tool," providing a fluid and efficient drawing experience.
Digital Drawing Techniques for Christmas Trees
Using a digital application, here's how you can approach your Christmas tree:
- Start with a Base Layer: Create a new layer for your tree's main shape. Use a large, soft brush to lay down the basic green conical form.
- Adding Texture with Brushes: Explore different brush types. Some digital brushes mimic pencil strokes, while others can create a bushy, needle-like texture. Use these to add definition to your branches.
- Layering for Depth: Create separate layers for ornaments, garlands, and the star. This allows you to move, resize, or delete individual elements without affecting the tree itself.
- Digital Ornaments: Use shape tools (circles, stars) to create perfect ornaments. Fill them with bright colors. You can add highlights and shadows with lighter/darker shades to make them look spherical and shiny.
- Lighting Effects: Digital tools excel at lighting. Add a glow effect around your star or simulate twinkling lights by adding small, bright dots and then applying a blur or glow filter.
- Shading and Highlights: Use lighter and darker shades of green to add dimension to your tree, indicating where light hits and where shadows fall.
Tips for a Merry Drawing Experience
- Practice Makes Perfect: Don't get discouraged if your first few attempts aren't masterpieces. Every stroke is a step towards improvement.
- Use References: Look at photos of real Christmas trees or other drawings for inspiration. Observe how branches are structured and how lights and ornaments are placed.
- Don't Be Afraid to Experiment: Try different colors, styles, and details. There's no single "right" way to draw a Christmas tree.
- Have Fun!: The most important tip is to enjoy the process. Drawing should be a relaxing and joyful activity, especially during the festive season.
Whether you choose the timeless charm of pencil and paper or the innovative freedom of a free online drawing application, creating your own Christmas tree drawing is a rewarding experience. It's a wonderful way to express your creativity and immerse yourself in the holiday spirit. So grab your tools, traditional or digital, and start sketching your festive masterpiece today!
How to Draw Realistic Cat for BEGINNERS | Fur Drawing Technique - YouTube

Easy Drawing Guides | Draw with Easy Step by Step Tutorials
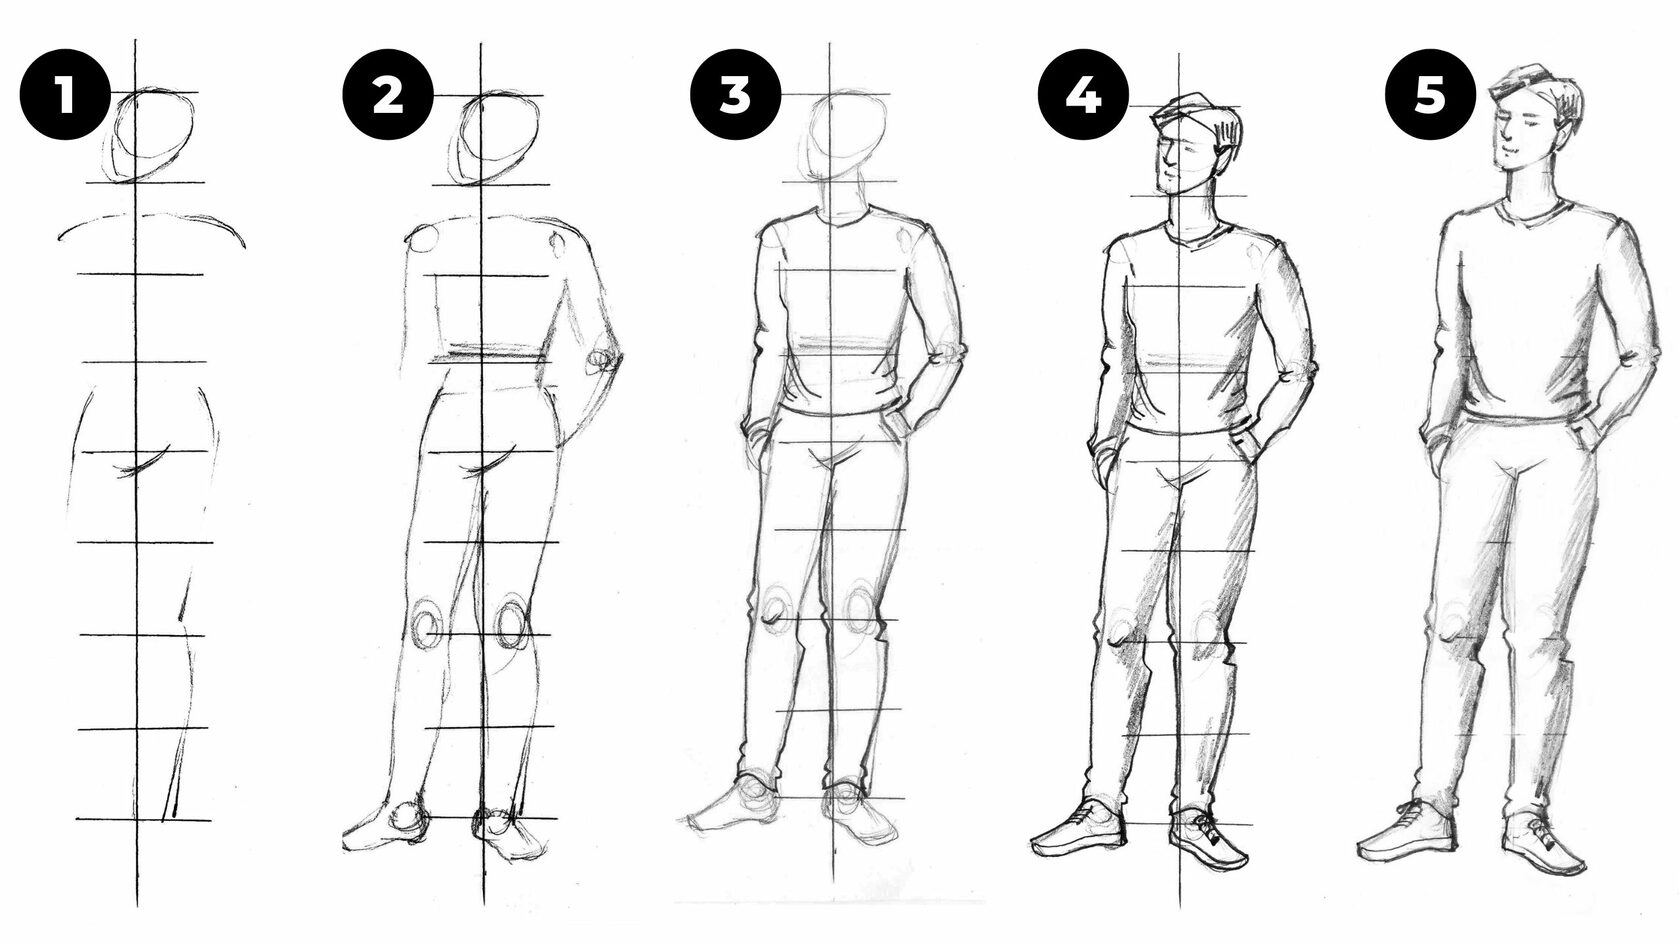
Drawing the Human Figure Made Easy: Step-by-Step Tips and Techniques
