Master The Art: How To Draw A Perfect Snowflake (Step-by-Step Guide)
There's something truly magical about snowflakes. Each one is a tiny, intricate masterpiece, unique and fleeting, a symbol of winter's delicate beauty. While catching them on your tongue is a childhood delight, capturing their elegance on paper or digitally can be an equally rewarding experience. Many people might think that drawing a snowflake is complicated, but we're here to tell you that it's surprisingly simple once you know a few tricks. You'll be creating easy snowflake drawings in no time!
Whether you're looking to add a touch of winter wonderland to your December calendar, adorn your bullet journal spread, or simply explore your artistic side, learning how to draw a snowflake is a fantastic skill. This comprehensive guide will walk you through the process step-by-step, making it a breeze for artists of all ages and skill levels. We'll cover everything from the basic geometry to tips for both traditional and digital drawing, ensuring you can draw a great looking snowflake with easy drawing instructions.
The Allure of the Snowflake: More Than Just Ice
Snowflakes are more than just frozen water; they are natural wonders, each with its own distinct pattern. The saying "no two snowflakes are alike" highlights their incredible diversity and complexity, making them a fascinating subject for art. Their six-sided symmetry is a testament to the fundamental laws of nature, yet the variations within that structure are endless. This inherent uniqueness is what makes drawing them so captivating – you're not just copying, you're creating your own unique winter marvel.
Beyond their natural beauty, snowflakes carry a sense of peace, purity, and the quiet wonder of winter. They can evoke feelings of coziness and holiday spirit. This makes them perfect for a variety of artistic applications:
- Holiday Decorations: Create your own greeting cards, gift tags, or window clings.
- Personalized Gifts: Design unique patterns for apparel or custom prints.
- Journaling and Planners: Add festive touches to your December calendar or bullet journal spreads.
- Digital Art: Craft images for social media posts, digital ads, or even website backgrounds.
- Mindful Art: The repetitive and symmetrical nature of drawing snowflakes can be a very calming and meditative activity.
Preparing Your Canvas: Tools for Snowflake Art
Before we dive into the drawing process, let's talk about the tools you'll need. The beauty of snowflake drawing is its flexibility – you can use traditional art supplies or embrace the convenience of digital tools.
Traditional vs. Digital Drawing
For those who prefer the tactile experience of pencil on paper, your essential art supplies are minimal:
- Paper: Any drawing paper will do.
- Pencil: A standard graphite pencil for sketching.
- Eraser: To clean up construction lines and mistakes.
- Ruler: Extremely helpful for creating precise initial lines.
If you're ready to embrace the digital realm, there are fantastic free online drawing applications available for all ages. One excellent example is Sketchpad.app. This free online drawing application allows you to create digital artwork to share online and export to popular image formats like JPEG, PNG, SVG, and PDF. It's incredibly versatile, letting you easily draw, edit photos, or even design your next business card.
With Sketchpad, you can draw on a blank canvas or even provide starting templates. It allows you to customize the tools and clipart to suit your needs. For those new to digital drawing, watching videos for tips and tricks on how to use Sketchpad and get the most out of the app is highly recommended. It offers intuitive features like a drag and drop feature for quick photo edits, and even shortcuts like drawing the letter “s” to take you to the style chooser. You can also access tool presets by holding the button and tapping the screen with different finger combinations. Everything you need to know about Sketchpad is readily available to help you craft images for social media posts, digital ads, paper, or even apparel.
Embracing the "Simple Steps" Mindset
Remember, drawing a snowflake might seem complicated at first glance, but there are a few tricks you can use to make it a breeze. The key is to break it down into simple, manageable steps. By following these simple steps, you too can easily draw a perfect snowflake. We'll be using construction lines to guide our process, which is a fundamental technique in drawing symmetrical shapes. This approach will make you feel like you're creating easy snowflake drawings in no time!
The Geometry of a Snowflake: Step-by-Step Mastery
The secret to a beautiful snowflake lies in its underlying hexagonal structure. All true snowflakes have six points. Learning how to draw a snowflake using simple geometry combined into interesting and graceful shapes is the most effective method. Here's how to draw a snowflake step by step in this easy guided lesson with pictures (mental pictures, that is!):
Step 1: The Foundation – The Six-Pointed Star
This is the most crucial step for establishing the snowflake's symmetry. We're going to create the basic framework of six radiating arms.
- Draw a Cross: Start by drawing two lines that intersect at 90 degrees, forming a perfect cross (+). Make sure these lines are perfectly centered. These will be your first two arms.
- Add Two More Intersecting Lines: Now, draw two more intersecting lines. These lines should also pass through the exact center point, dividing the angles of your initial cross. If you've done it correctly, you should now have three lines intersecting at the center, creating six equally spaced "spokes" or arms. Think of it like slicing a pizza into six equal pieces. These are your primary construction lines, and they form the skeleton of your snowflake.
These initial lines are fundamental. They don't have to be dark; in fact, drawing them lightly will make them easier to erase later if you're working traditionally. If you're drawing digitally, you can often use a separate layer for construction lines and hide or delete it later.
Step 2: Adding the Details – Branches and Patterns
Now comes the fun part: adding the intricate details that make each snowflake unique. Remember, you can keep it simple or make it more detailed. This is where your creativity truly shines!
- Choose a Basic Shape for Branches: Along each of the six main arms, start adding smaller branches. These can be simple V-shapes, small straight lines, or even tiny triangles. The key is to make them symmetrical on each arm at the same distance from the center. For example, draw a small 'V' shape pointing outwards on each of the six main lines, a short distance from the center.
- Repeat and Vary: Move further out along each arm and repeat the process, adding more details. You can vary the shapes and sizes of these smaller branches. Some ideas include:
- Small straight lines extending from the main arm.
- Tiny dots or circles.
- Zigzag patterns.
- Miniature versions of the main snowflake shape.
- Connect the Dots (Optional): For a more solid snowflake, you can connect the tips of your details with light lines, forming a hexagon or star shape around the center. This is where the idea of "drawing simple shapes like a hexagon and a star first" comes into play, as it can also be a starting point for a different style of snowflake.
Let's learn how to draw a snowflake that is simple but a little more detailed by gradually building up these layers of complexity.
Step 3: Refining and Finishing Touches
You're almost there! This final step brings your snowflake to life.
- Darken Your Lines: Once you're happy with your design, go over your desired lines with a darker pencil or pen (if traditional) or a bolder brush (if digital). Make sure your chosen lines are crisp and clear.
- Erase Construction Lines: Carefully erase any visible construction lines that you no longer need. This will make your snowflake appear clean and professional.
- Add Shading or Color (Optional): For an extra dimension, you can add subtle shading to give your snowflake a three-dimensional look, or color it in with cool blues, whites, and silvers.
And just like that, you've learned how to draw a snowflake in just three easy and simple steps with our detailed step-by-step guide! If you’re ready to embrace winter wonderland vibes, check out all seven enchanting ways to draw a snowflake by experimenting with different patterns and details on your six arms.
Elevating Your Snowflake Digitally
Using a digital drawing application like Sketchpad opens up a world of possibilities for your snowflake art. Not only can you easily correct mistakes without messy erasing, but you also have access to a vast array of tools and effects.
- Symmetry Tools: Many digital apps have symmetry rulers or tools that can automatically mirror your strokes, making it incredibly easy to create perfectly symmetrical snowflakes. This can speed up the process significantly.
- Layers: Use layers for your construction lines, details, and colors. This allows for non-destructive editing and experimentation.
- Brush Variety: Experiment with different brush types and textures to give your snowflake unique looks. You can use fine lines for intricate details or thicker brushes for a bolder design.
- Export Options: As mentioned, Sketchpad allows you to export your digital artwork to popular image formats like JPEG, PNG (great for transparent backgrounds!), SVG (scalable vector graphics, perfect for designs that need to be resized without losing quality), and PDF. This means your snowflake can easily become part of a digital ad, a social media post, or even be printed on paper or apparel.
- Quick Edits: Features like drag and drop make quick photo edits a breeze, allowing you to incorporate your snowflake into other designs or photos.
For those who love to have resources at hand, many artists also create free PDF printables of their drawing guides. You might find a free PDF printable which you can get and print right away to practice these steps.
Conclusion
Drawing a snowflake, far from being a daunting task, is a rewarding and accessible artistic endeavor. By understanding its fundamental six-sided geometry and breaking the process down into simple steps, anyone can create beautiful and intricate designs. Whether you prefer the traditional feel of pencil on paper or the versatile tools of a digital application like Sketchpad, the joy of crafting your own unique winter masterpiece is immense.
So, grab your tools, embrace the simple geometry, and let your creativity flow. Experiment with different patterns, thicknesses, and styles. Remember, just like in nature, every snowflake you draw will be uniquely yours. Happy drawing!
Summary: This article provides a comprehensive guide on how to draw a snowflake, emphasizing that the process is much simpler than it appears. It covers the allure of snowflakes, essential tools for both traditional and digital drawing (highlighting Sketchpad.app's features), and a detailed three-step process focusing on establishing the six-pointed foundation, adding intricate details, and refining the drawing. The guide also offers tips for leveraging digital tools for enhanced creativity and ease of use, concluding with an encouragement for readers to embrace the joy of creating their own unique snowflake art.
How to Draw Realistic Cat for BEGINNERS | Fur Drawing Technique - YouTube

Easy Drawing Guides | Draw with Easy Step by Step Tutorials
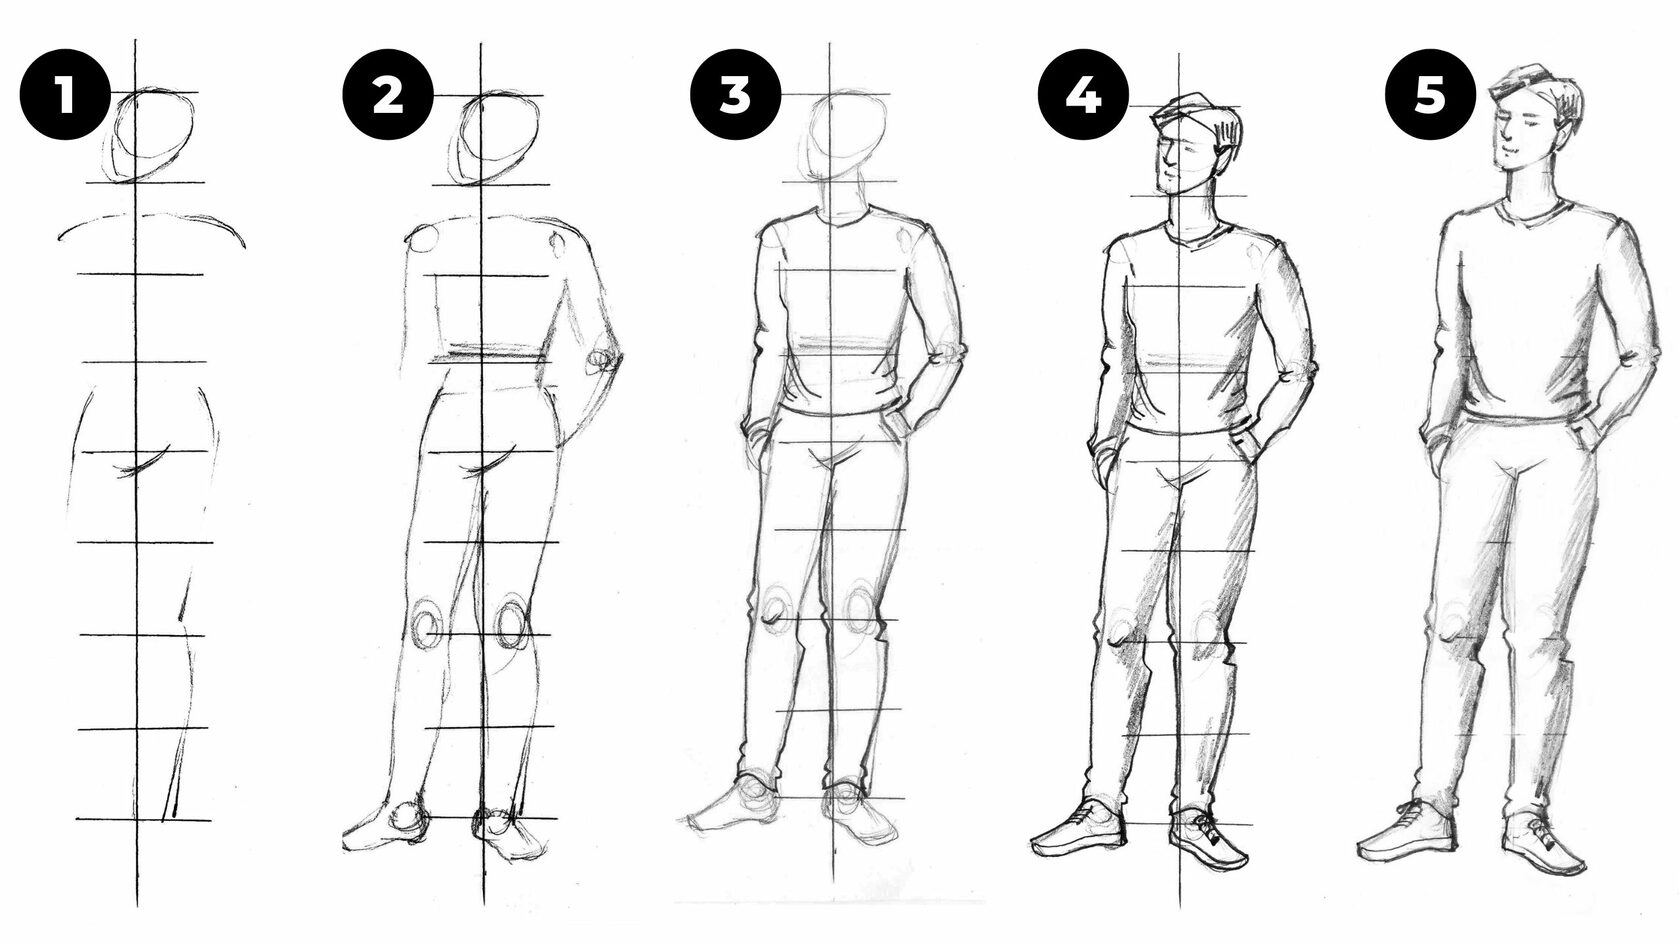
Drawing the Human Figure Made Easy: Step-by-Step Tips and Techniques
