DIY Sugar Wax: Your Ultimate Guide To Smooth, Radiant Skin At Home
Whether you want to hop on the sugaring trend from TikTok or just want to save money on waxing, we’ve got you covered! Removing unwanted hair at home doesn't have to be a painful or expensive ordeal. In fact, with just three simple ingredients and a straightforward process, you can achieve salon-quality results right in your own kitchen. You’ve probably got the ingredients you need for sugar wax in your kitchen pantry today, so it’s simple to make a DIY sugar wax straight away.
In this post, we’ll share our favorite recipe and tips to make sugar wax paste, guiding you through how to make your own natural DIY sugar wax and use it for smooth, radiant skin. Making sugar wax at home is an excellent way to maintain smooth skin naturally, offering a gentler alternative to traditional waxing methods.
Why Choose Sugar Waxing Over Traditional Waxing?
If you want to remove unwanted hair from your arms, legs, or face, there are several ways to go about it. However, sugaring, or sugar waxing, stands out for several compelling reasons. It's not just a trend; it's a time-tested method gaining popularity for its numerous benefits.
Gentler on Skin
First of all, sugaring is known to be the gentler option. Waxing is notoriously ouchy, and that's because not only is it removing the hair straight from the follicle, but it's also taking off the top layer of your skin. This can lead to irritation, redness, and even bruising, especially for those with sensitive skin. Sugar wax, on the other hand, adheres only to the hair and dead skin cells, not to live skin. This significantly reduces discomfort and minimizes the risk of irritation, making it suitable even for sensitive areas. The application process also differs; sugar wax is applied against the direction of hair growth and removed in the direction of hair growth, which helps prevent breakage and ingrown hairs.
Cost-Effective & Natural
Another major advantage? It’s practically free to make, too! With just three simple ingredients, you can save money and avoid harsh chemicals often found in commercial waxes. These ingredients are typically found in any kitchen, making it an incredibly accessible and affordable option for hair removal. Opting for homemade sugar wax means you're using a natural product with no synthetic fragrances, dyes, or preservatives, which is a huge plus for those looking for a more organic beauty routine.
The Simple Ingredients You'll Need
The beauty of sugar wax lies in its simplicity. You truly only need three common household ingredients to create this effective hair removal paste. These are items you likely already have on hand, making it incredibly convenient to whip up a batch whenever you need it.
- Sugar: Granulated white sugar is the base of your wax. It provides the sticky consistency needed to grip the hair.
- Lemon Juice: The acid in lemon juice acts as a natural preservative and helps break down the sugar, preventing it from crystallizing and ensuring a smooth, pliable texture.
- Water: Water helps dissolve the sugar and lemon juice, creating the liquid base that will be cooked down into the wax.
Step-by-Step Guide to Making Your Sugar Wax
To make sugar wax at home, follow these easy steps carefully. The key to a perfect sugar wax consistency is patience and attention to detail during the cooking process. A little practice, and you'll be a pro in no time!
- Gather Your Tools: You'll need a medium-sized saucepan, a wooden spoon or spatula for stirring, and an airtight container for storage.
- Combine Ingredients: In your saucepan, combine 2 cups of granulated sugar, ¼ cup of fresh lemon juice, and ¼ cup of water.
- Heat and Stir: Place the saucepan over medium heat. Stir constantly until the sugar dissolves completely. This is crucial to prevent burning and ensure a smooth mixture.
- Bring to a Boil: Once the sugar is dissolved, bring the mixture to a rolling boil. Reduce the heat to low and let it simmer.
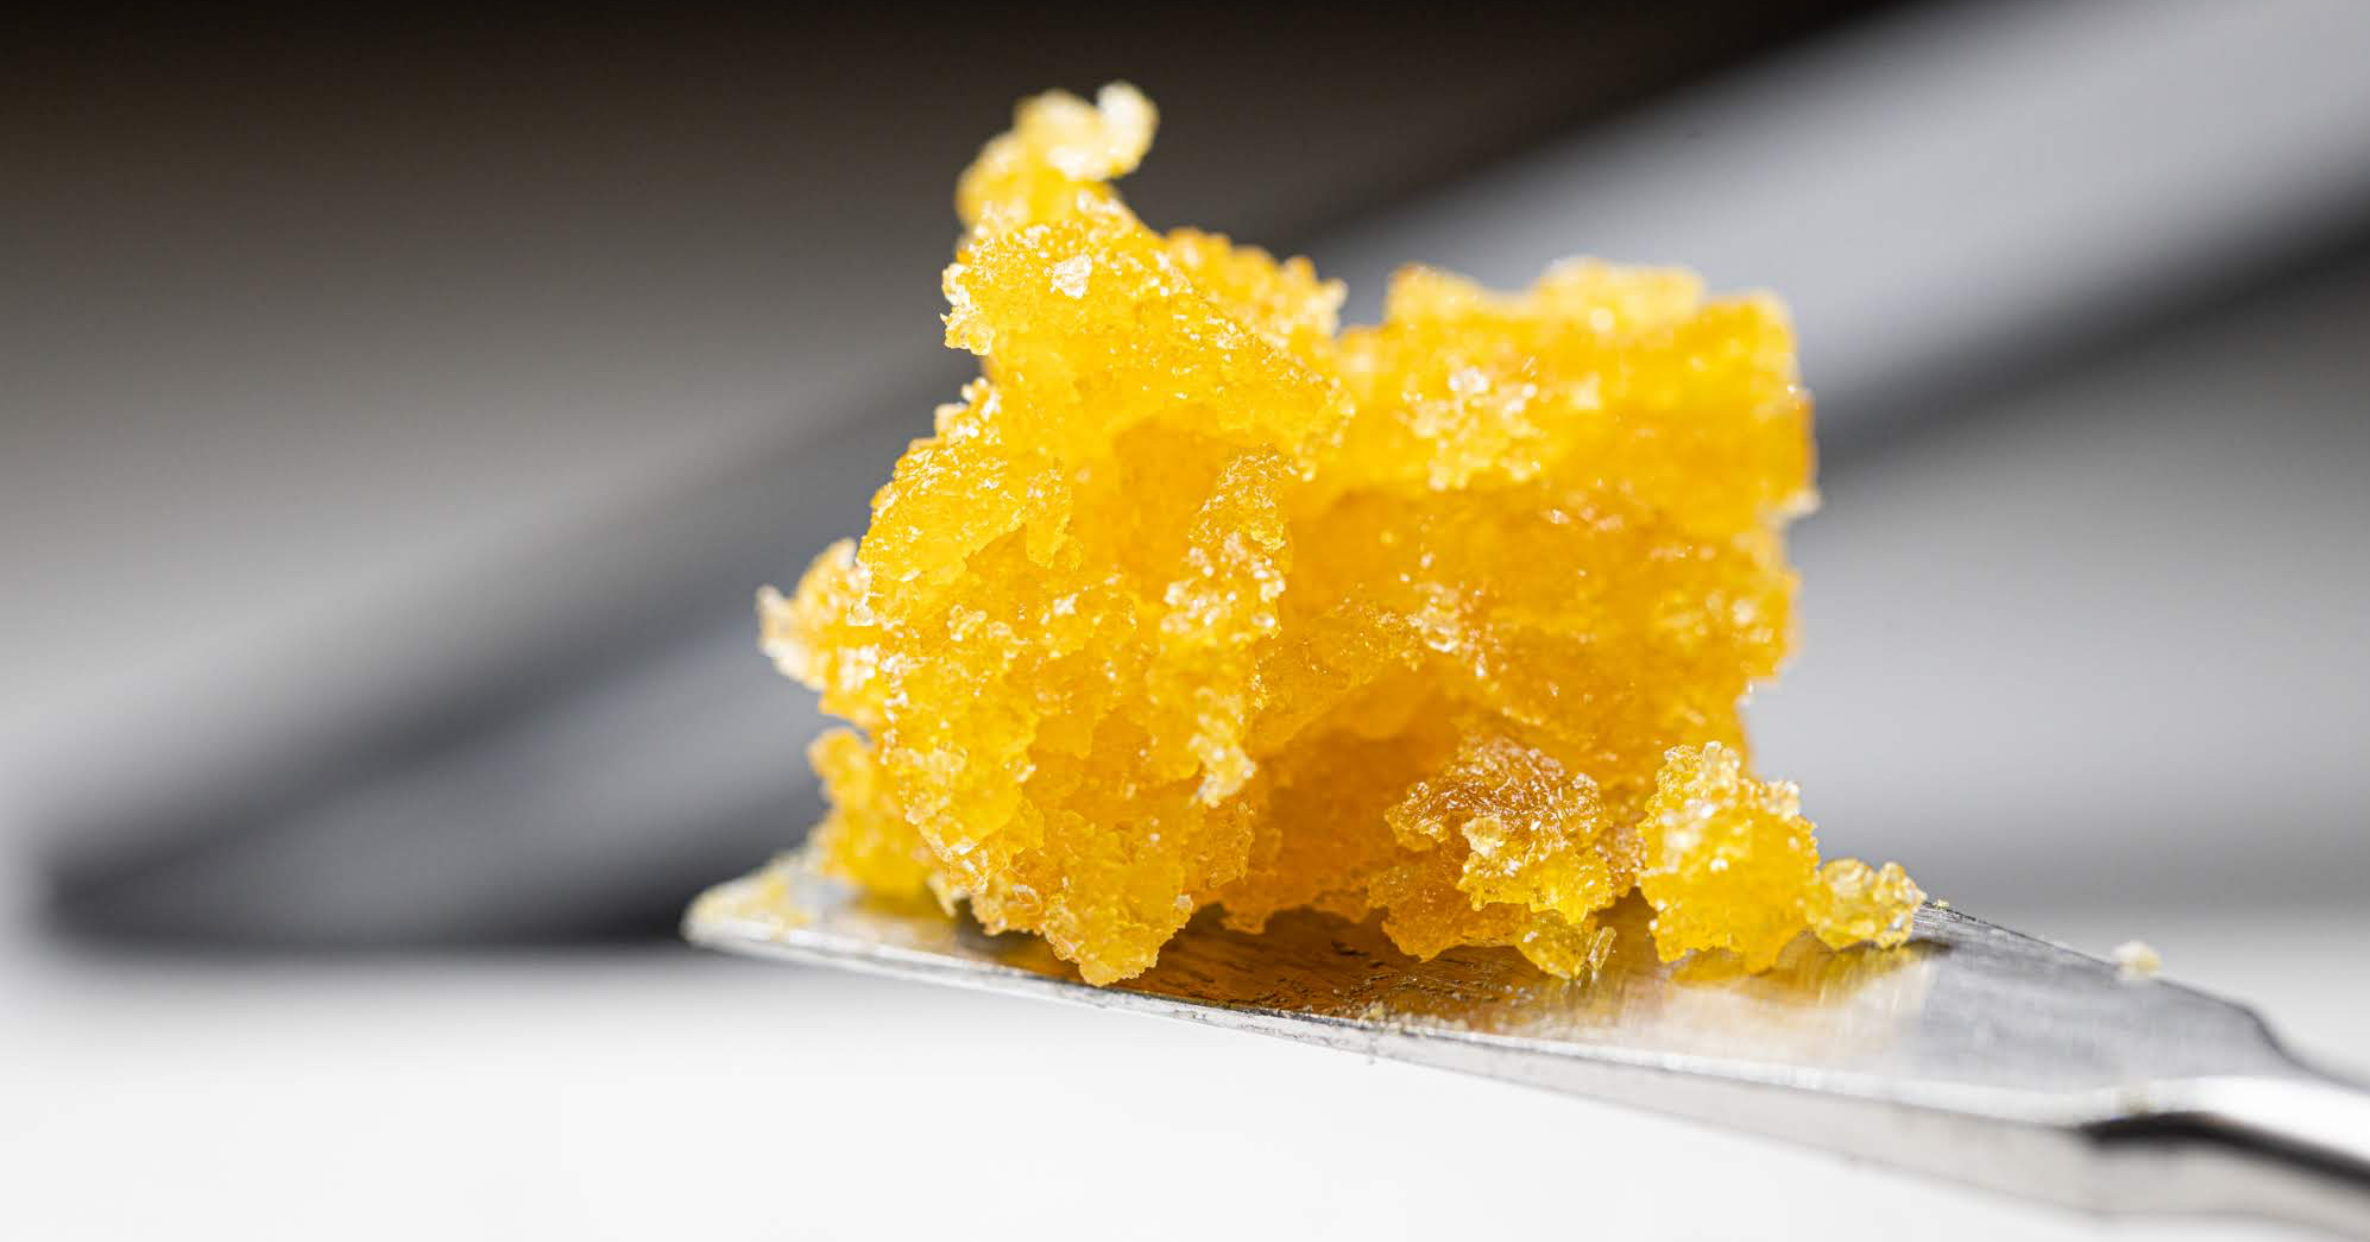
- Cook to Perfection: Continue to simmer, stirring occasionally, until the mixture turns a beautiful golden-amber color, similar to honey or light caramel. This usually takes about 7-10 minutes, but cooking times can vary. Be careful not to overcook it, as it will become too hard to use. A good test is to drop a small amount into a glass of cold water; it should form a soft, pliable ball.
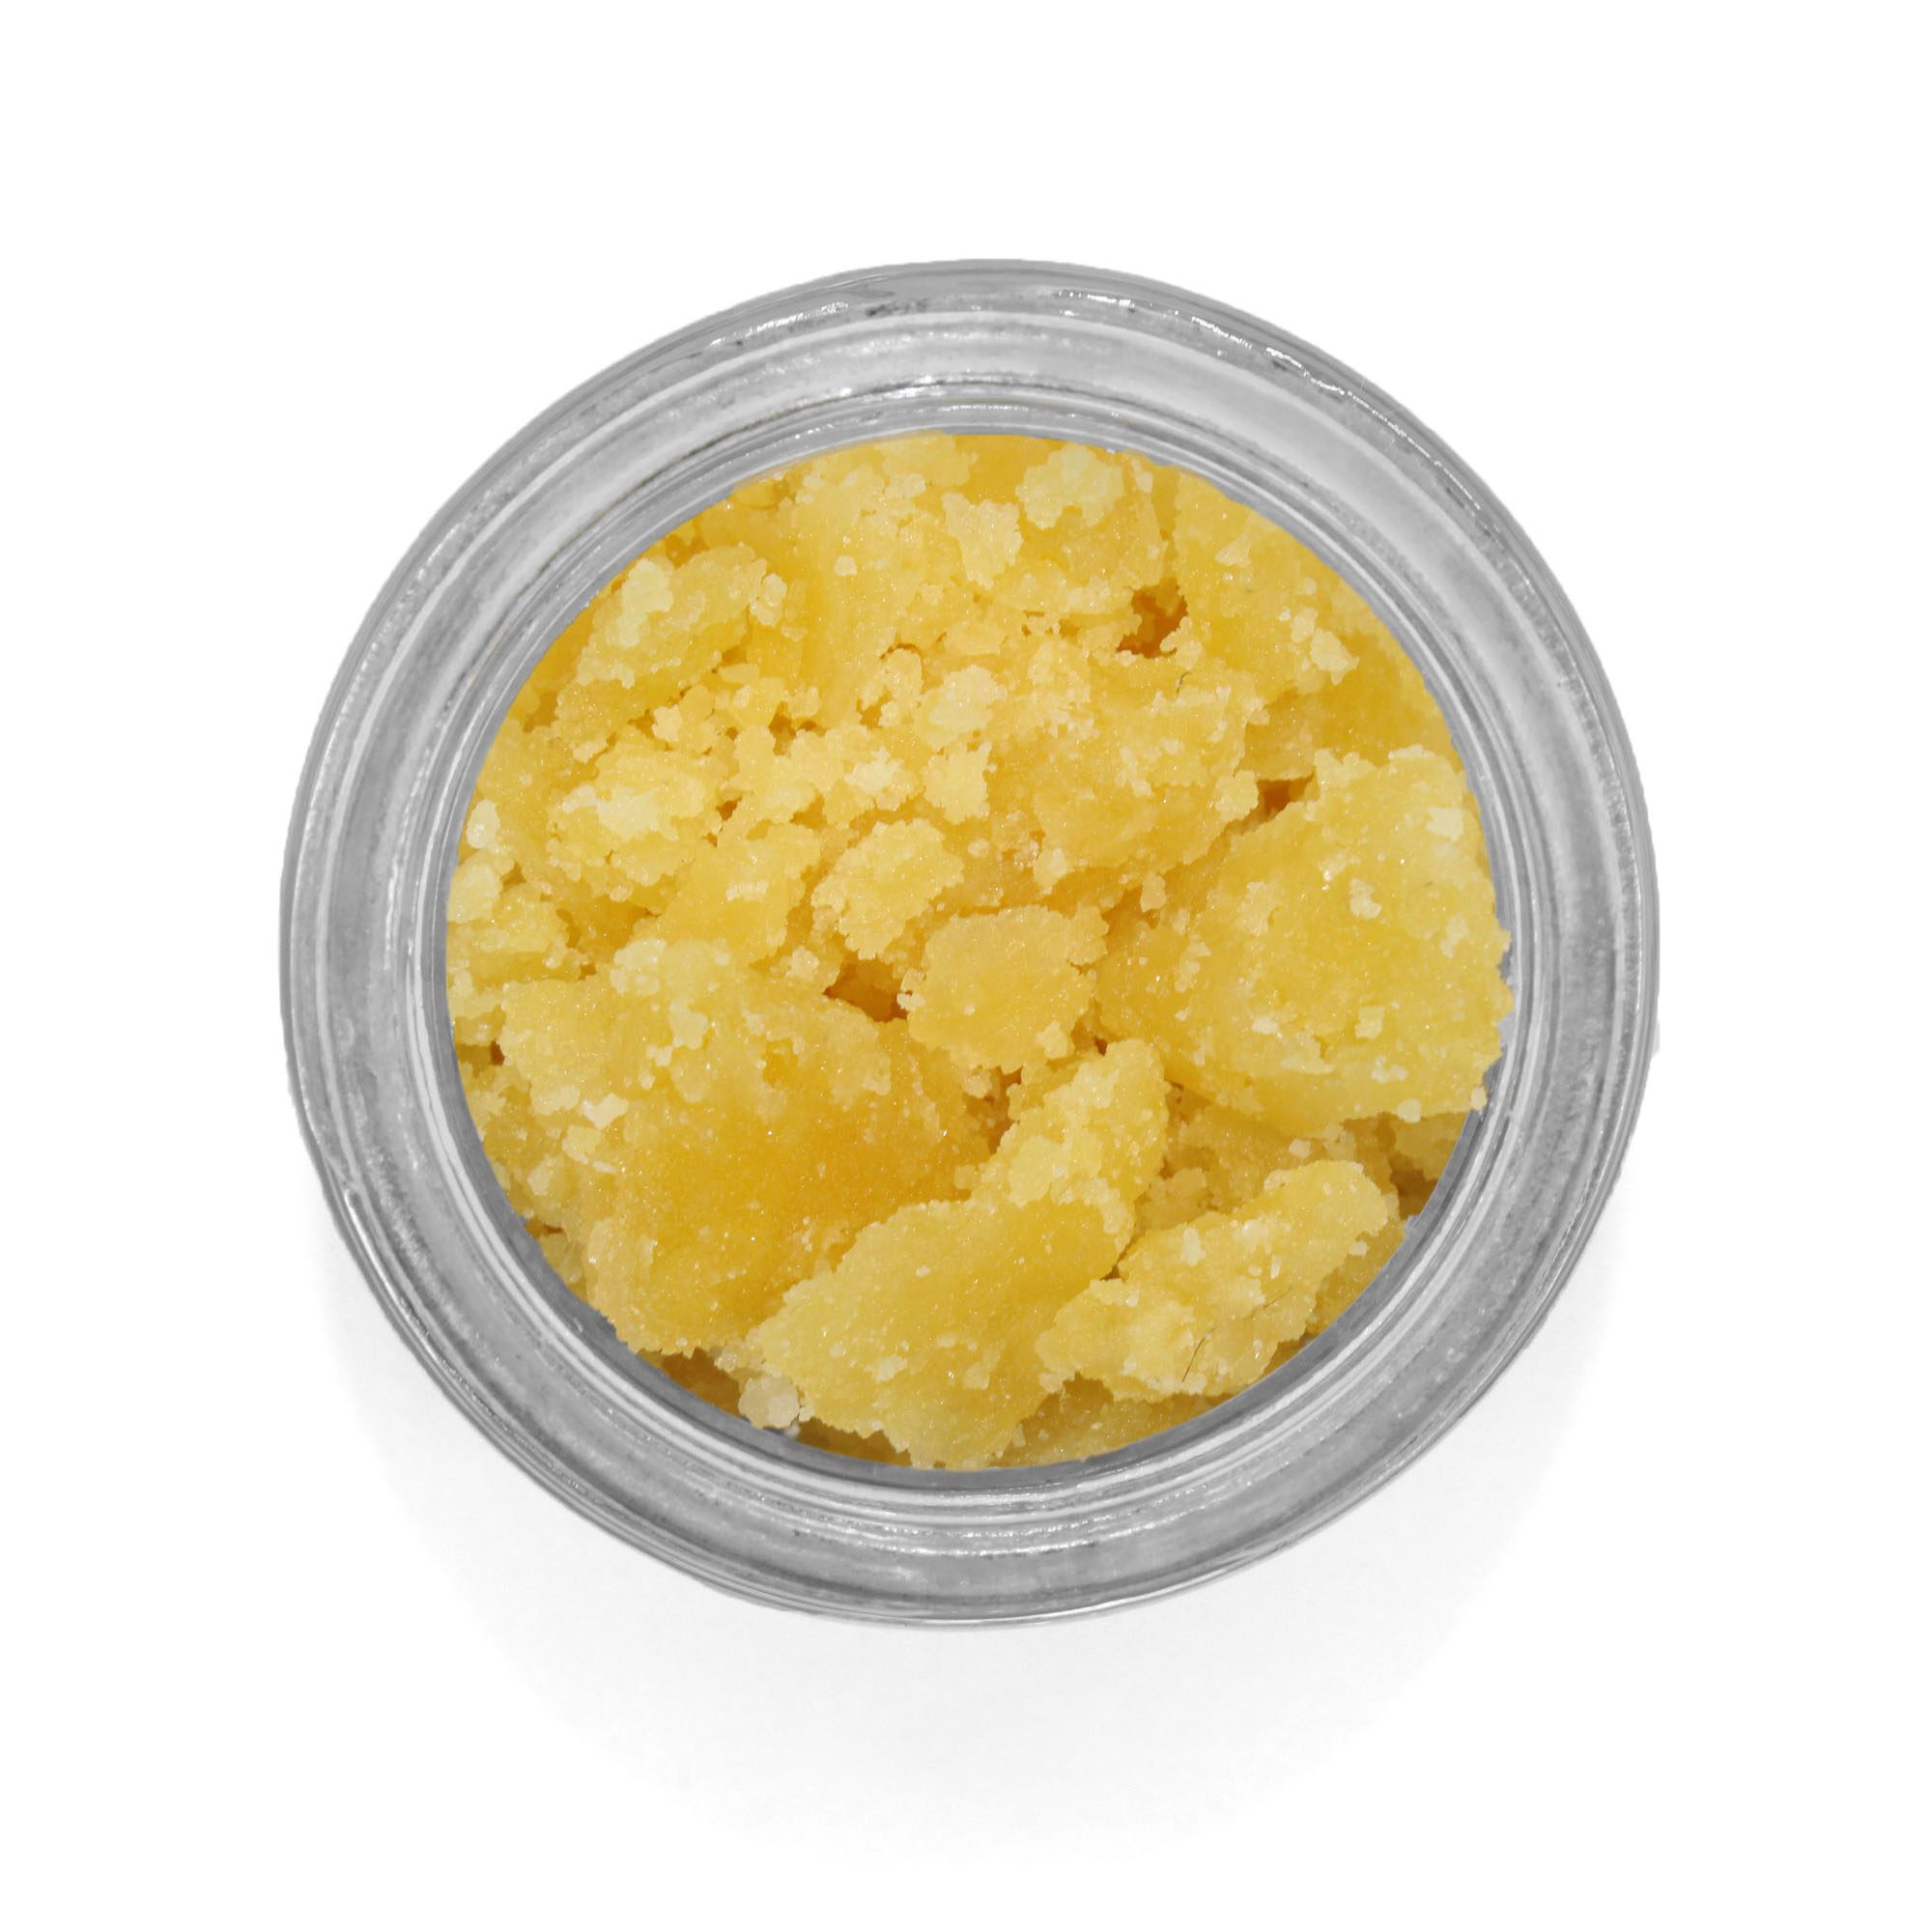
- Cool Down: Once it reaches the desired color and consistency, immediately remove the saucepan from the heat. Carefully pour the hot sugar wax into your heat-safe, airtight container.
- Let it Rest: Allow the wax to cool down to a warm, workable temperature before using. It should be warm enough to be pliable but not so hot that it burns your skin. This might take several hours, or you can speed it up by placing the container in a bowl of ice water.
Tips for Success:
- Don't Rush It: Cooking sugar wax requires patience. Rushing the process can lead to burnt sugar or an inconsistent texture.
- Color is Key: Pay close attention to the color. Too light, and it won't be sticky enough; too dark, and it will be too hard. Aim for a rich golden amber.
- Storage: Store your sugar wax in an airtight container at room temperature. If it hardens, you can gently reheat it in a microwave (in short bursts) or a double boiler until it's workable again.
- Patch Test: Always do a small patch test on your skin before full application to ensure the temperature is right and you don't have any adverse reactions.
How to Use Your Homemade Sugar Wax
Once your sugar wax has cooled to a comfortable, warm temperature, it's time for the fun part: hair removal! Here’s how to use your homemade sugar wax effectively for smooth results:
- Prepare Your Skin: Ensure your skin is clean, dry, and free of oils or lotions. You can lightly dust the area with cornstarch or baby powder to absorb any excess moisture. Hair should be at least ¼ inch long for best results.
- Apply the Wax: Using your fingers or a spatula, scoop out a small ball of sugar wax. Knead it slightly until it becomes pliable. Apply the wax against the direction of hair growth, pressing it firmly onto the skin.
- Pull it Off: With one hand, pull your skin taut. With the other hand, quickly and firmly pull the sugar wax strip off in the direction of hair growth, keeping it parallel to your skin. Do not pull upwards.
- Repeat: You can reuse the same ball of sugar wax multiple times until it loses its stickiness or becomes too saturated with hair.
- Clean Up: Unlike traditional wax, sugar wax is water-soluble, making cleanup incredibly easy. Simply rinse any residue off with warm water.
Maintaining Smooth Skin Naturally
Making sugar wax at home is an excellent way to maintain smooth skin naturally. Regular sugaring can lead to finer, sparser hair growth over time. To prolong your smooth results and keep your skin healthy, consider incorporating these practices into your routine:
- Exfoliate Regularly: Gently exfoliate your skin a few days after sugaring to prevent ingrown hairs.
- Moisturize Daily: Keep your skin hydrated with a natural, non-comedogenic moisturizer.
- Stay Consistent: For best results, sugar wax every 3-4 weeks as your hair grows back.
With just three simple ingredients and a straightforward process, you can save money and avoid harsh chemicals while achieving beautifully smooth and radiant skin. This natural DIY sugar wax recipe, often praised for its gentleness, aligns with the principles dermatologists often recommend for at-home hair removal, emphasizing minimal irritation and natural ingredients. So go ahead, give it a try, and discover the gentle, effective way to remove unwanted hair at home!
Sugar Wax - Infinite Infusions
Sugar Wax - Herbazon

How to Make Sugar Wax: Simple Recipe & Sugaring Tips
